

The UniSoc Driver (also known as the SPD USB Driver) is required to connect your UniSoc-powered smartphone or tablet to a Windows computer.
However, you may need to uninstall it if you are facing connection issues, driver conflicts, slow performance, or if you want to install a newer version for better compatibility.
Uninstalling the UniSoc Driver is a quick and straightforward process. Follow the step-by-step guide below.
How to Uninstall the UniSoc Driver
Before starting, make sure you have the following:
Prerequisites
- A Windows PC (32-bit or 64-bit).
- The original UniSoc Driver package that you used for installation.
- Administrator privileges on your computer.
Steps to Uninstall the UniSoc Driver
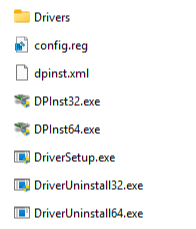
- Open the folder where you extracted the UniSoc Driver package.
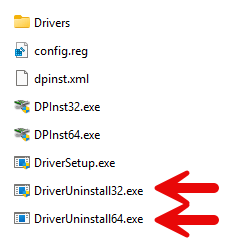
- You will find two uninstaller files inside the folder:
DriverUninstall32.exe – For 32-bit Windows
DriverUninstall64.exe – For 64-bit Windows. - Right-click on the appropriate uninstaller based on your Windows version and select Run as Administrator:
For 32-bit Windows → Run DriverUninstall32.exe
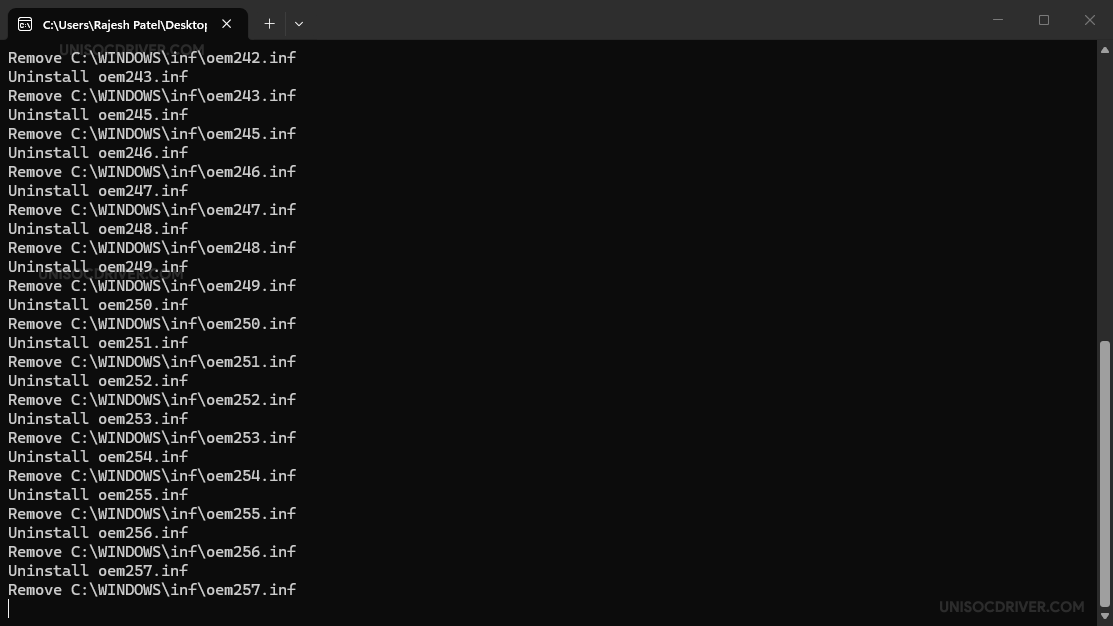
For 64-bit Windows → Run DriverUninstall64.exe - The uninstaller will automatically remove all UniSoc drivers from your system. This process usually takes only a few seconds.
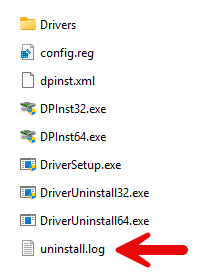
- Once uninstallation is complete, an uninstall.log file will be created in the same folder for your reference.
- Restart your computer to remove the drivers from the system completely.
Troubleshooting Tips
- Driver still appears in Device Manager: Open Device Manager, enable “Show hidden devices”, and manually uninstall any remaining UniSoc driver entries.
- Uninstaller not working: Try running the uninstaller as Administrator. If it still fails, try the other version (32-bit or 64-bit).
- Windows 10/11 blocks the tool: If SmartScreen shows a warning, click More info → Run anyway.
- Still facing issues? Reinstall the full UniSoc Driver package, then uninstall it again, or manually remove the drivers in Device Manager.
